

Building your own PC can seem like a daunting task, but with the proper knowledge and a step-by-step approach, it can be an enriching experience. Whether you’re a gamer, a tech enthusiast, or someone looking for a custom machine to suit your unique needs, building your own PC offers the flexibility to choose the best components for performance, budget, and future-proofing.
In this guide, we’ll walk you through the entire process from selecting the right parts to assembling and setting up your new custom PC. By the end, you’ll have a solid understanding of how to build your own machine and why it’s an excellent choice.
Why Build Your Own PC?
Building a PC might seem intimidating at first, but there are several compelling reasons why you should consider it:
- Customization: Choose your own components based on your specific needs—whether for gaming, content creation, or general use.
- Cost Efficiency: By handpicking your components, you can save money compared to buying a pre-built system.
- Learning Experience: Building your own PC is a fantastic way to learn about hardware, improving your understanding of how computers work.
- Upgradeability: Building your PC means you can upgrade individual components without replacing the entire system.
Now that you know why it’s worth building your own PC, let’s dive into the key components you’ll need to assemble your machine.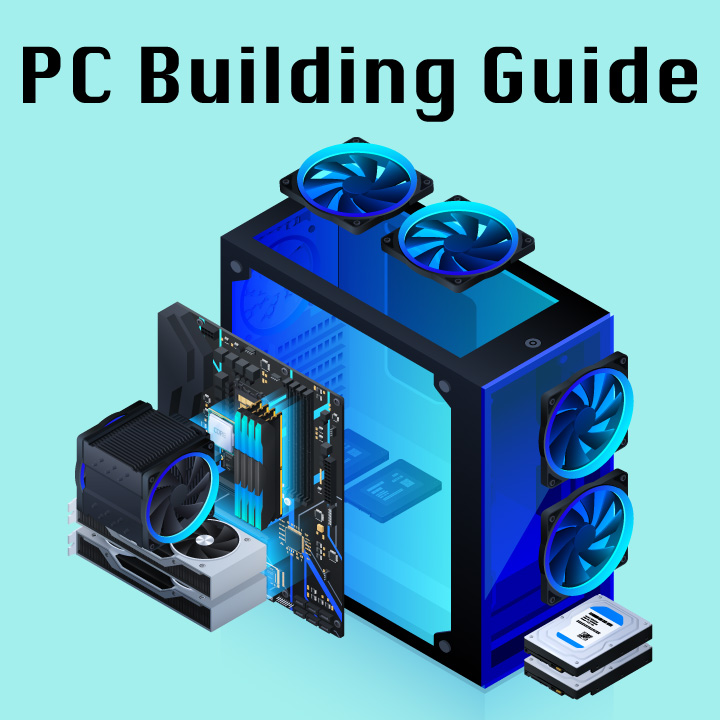
Key Components of a PC
Before you begin, you’ll need to gather the necessary parts. Here are the main components you’ll need to build your own PC:
1. Central Processing Unit (CPU)
The CPU is the brain of your PC. It’s responsible for executing instructions and handling the general operations of the computer. When choosing a CPU, make sure it’s compatible with your motherboard (socket type) and meets your performance needs.
- Popular choices: Intel Core series, AMD Ryzen series.
2. Motherboard
The motherboard is the main circuit board that connects all of your components. It provides connectors for the CPU, RAM, storage drives, and other peripherals. It’s crucial to pick a motherboard that is compatible with the CPU, offers sufficient expansion slots, and has the features you need, such as Wi-Fi, Bluetooth, or additional ports.
- Popular choices: ASUS, MSI, Gigabyte, ASRock.
3. Graphics Processing Unit (GPU)
The GPU is essential for rendering graphics. While it’s not necessary for basic computing tasks, it’s a must-have for gaming, video editing, and 3D rendering. The GPU works with the CPU to process and display images on your monitor.
- Popular choices: Nvidia GeForce, AMD Radeon.
4. Memory (RAM)
RAM temporarily stores data that your CPU needs to access quickly. The more RAM you have, the better your PC will handle multitasking and memory intensive applications like gaming or video editing. Typically, 16GB is sufficient for most users, but power users or gamers may need 32GB or more.
- Popular choices: Corsair Vengeance, G.SKILL Ripjaws, Kingston HyperX.
5. Storage (SSD/HDD)
Your storage drive holds your operating system, applications, and files. SSDs (Solid State Drives) are faster and more reliable than traditional HDDs (Hard Disk Drives), making them ideal for boot drives. Many users opt for a combination of an SSD for the OS and an HDD for additional storage.
- Popular choices: Samsung, Western Digital, Seagate.
6. Power Supply Unit (PSU)
The PSU provides power to all components in your PC. It’s essential to choose a high-quality PSU with sufficient wattage to support all of your components. Make sure to account for future upgrades and power-hungry components like a high-end GPU.
- Popular choices: EVGA, Corsair, Seasonic.
7. Case
The case houses all of your components and ensures proper airflow to prevent overheating. Choose a case that fits your motherboard size (ATX, Micro ATX, etc.), provides good airflow, and has room for future upgrades.
- Popular choices: NZXT, Fractal Design, Cooler Master.
8. Cooling System
While most cases come with basic cooling fans, it’s worth considering additional cooling for high-performance builds, especially if you plan on overclocking. A good CPU cooler, whether air or liquid, will ensure your system stays at optimal temperatures.
- Popular choices: Cooler Master, Noctua, Corsair.
9. Operating System (OS)
Finally, you’ll need an operating system to run your PC. The most common choice is Windows, which is compatible with most software and games. However, Linux is an excellent alternative for developers and those looking for a customizable, open-source OS.
Step-by-Step Guide to Building Your PC
Now that you’ve gathered all your components, it’s time to assemble them into your new custom PC. Follow these steps to ensure a smooth build process.
Step 1: Prepare Your Workspace
Find a clean, static-free area with plenty of space to work. Ideally, use an anti-static wrist strap to prevent damaging sensitive components with static electricity.
Step 2: Install the CPU
Start by installing the CPU onto the motherboard. Open the CPU socket, carefully align the CPU with the socket pins, and gently place it in. Once seated, close the socket latch to secure it in place.
Step 3: Install RAM
Next, install your RAM into the motherboard’s memory slots. Line up the notches on the RAM with the slots and press down until they click into place.
Step 4: Install the CPU Cooler
If your CPU cooler comes with thermal paste pre-applied, you can skip applying it. Otherwise, use a small pea-sized amount of thermal paste in the center of the CPU. Then, install the cooler according to the manufacturer’s instructions.
Step 5: Install the Motherboard into the Case
Carefully position the motherboard inside the case, ensuring it aligns with the case’s mounting holes. Secure the motherboard using the screws provided by the case.
Step 6: Install the Power Supply Unit (PSU)
Place the PSU in its designated area at the bottom or top of the case, depending on your case design. Secure it with screws and connect the necessary power cables to the motherboard, CPU, and GPU.
Step 7: Install the GPU
Insert the GPU into the PCIe slot on the motherboard, then secure it with screws to the case. Connect the necessary power cables from the PSU to the GPU.
Step 8: Install Storage Drives
Mount your SSD and/or HDD into the case’s drive bays. Secure them with screws and connect them to the motherboard using SATA cables (for HDDs/SSDs) or M.2 slots (for NVMe SSDs).
Step 9: Connect the Case’s Front Panel
Finally, connect the case’s front panel cables, including the power button, USB ports, and audio jacks, to the motherboard.
Step 10: Power On and Install the Operating System
Once everything is connected, power on the PC. Enter the BIOS to ensure all components are recognized. From there, you can proceed to install your operating system, such as Windows or Linux, by booting from a USB drive.
Conclusion
Building your own PC is a fantastic way to get exactly what you need in a computer. Not only do you gain hands-on experience, but you also have complete control over your system’s performance and future upgrades. By following this beginner’s guide, you can create a custom PC tailored to your specific requirements whether it’s for gaming, productivity, or content creation.
Remember, patience is key, and double-checking connections is essential. With time and practice, you’ll be able to assemble a robust and reliable system that serves you for years to come.
Ready to take the next step? Explore related articles on AI Tech Muz to learn more about building, optimizing, and upgrading your custom PC!


Leave feedback about this